

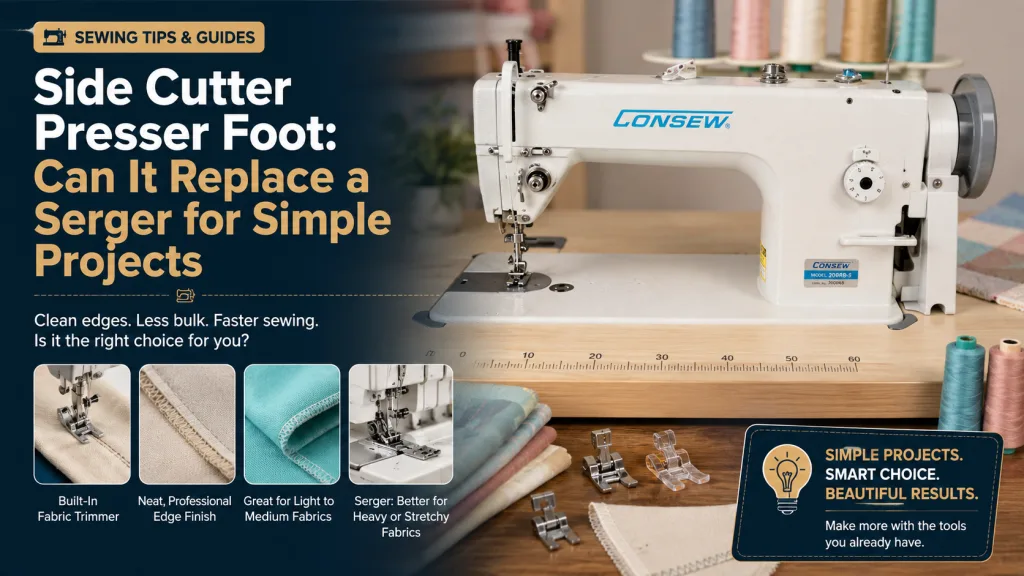
A side cutter presser foot can trim a narrow amount of fabric while a domestic sewing machine forms an overcasting stitch near the edge. For occasional woven-fabric projects, it can create a tidier finish than a plain zigzag and reduce one trimming step. It does not duplicate a serger’s loopers, differential feed, cutting capacity, speed, or flexible multi-thread seam, so it should be viewed as a specialized domestic attachment rather than a full replacement.
What A Side Cutter Presser Foot Can Realistically Do
The attachment usually has a small cutting arm or blade that trims near the needle while a wide zigzag or overedge stitch wraps the cut edge. The sewing machine still uses ordinary upper and bobbin thread. A serger uses separate loopers and multiple threads to form a different stitch while a stronger knife system trims continuously. For this decision, overcasting foot is useful context: This foot guides a wide stitch over the edge but normally does not cut the fabric.
Results depend heavily on compatibility and setup. The foot must match the shank system, sit correctly against the needle-clamp motion, and provide clearance for the selected stitch width and needle position. A small installation error can cause a needle strike or prevent the cutter from moving. For this decision, serger alternative is useful context: The attachment is an occasional substitute for selected edge finishes, not a replacement for looper stitches and differential feed.
Where The Attachment Works—and Where It Struggles
Stable Woven Seam Allowances
Cotton, linen blends, and other stable fabrics are the easiest place to begin. The attachment can trim light fraying and wrap the edge in one pass. Test seam allowance accuracy because the cut position may not align with a pattern’s standard guide. For this decision, trim and stitch attachment is useful context: A small cutting mechanism removes a narrow strip while the domestic machine forms the chosen edge stitch.
Lightweight Edge Clean-Up
A narrow cut can remove fuzzy threads before overcasting. Very soft fabric may be pushed into the mechanism, while heavy fabric can overload the small blade. Use a stabilizer or a different finish when the edge cannot feed cleanly. For this decision, edge finishing tool is useful context: The best tool depends on fabric, seam bulk, project volume, desired appearance, and required stretch.
Straight And Broad Curved Edges
The long mechanism follows straight lines and gentle curves more reliably than tight inside corners. Stop before bulky seam intersections, clips, or pins. Trim difficult areas manually rather than forcing them through the blade. For this decision, sewing machine side cutter is useful context: Brand instructions should confirm installation, stitch choice, compatible models, and safe needle position.
Limited Stretch Performance
A domestic overedge stitch may stretch more than a straight stitch, but it does not have differential feed to control a wavy knit edge. Some stable knits may test well; highly elastic garment seams are usually better handled by a serger or suitable stretch construction method.
Maintenance And Blade Condition
Thread lint and tiny cut fibers collect around the mechanism. Clean it frequently and replace or service a dull blade only as the manufacturer allows. A blunt cutter can chew the edge, push fabric sideways, and increase the chance of a jam. For this decision, seam finishing methods is useful context: Options include zigzag, overcasting, turned-and-stitched edges, binding, French seams, pinking, and true overlocking.
Install And Test Without Risking A Needle Strike
- Confirm model compatibility, shank type, and the manufacturer’s required stitch in the manual.
- Attach the mechanism with the machine switched off and position its operating fork exactly as instructed.
- Select the recommended needle position and conservative stitch width.
- Turn the handwheel through several full cycles with no fabric to confirm clearance.
- Place a stable woven scrap under the foot, start slowly, and trim only a narrow edge.
- Inspect both sides, then test a gentle curve and one seam intersection separately.
Stop immediately if the attachment clicks, binds, tilts, or touches the needle. Do not widen the stitch or move the needle merely to improve edge coverage without another complete handwheel check. For this decision, presser foot tutorial is useful context: A useful demonstration should show attachment, handwheel clearance, fabric positioning, stitch settings, and cleaning.
Side Cutter Versus Serger
| Capability | Side-cutter attachment | Serger |
|---|---|---|
| Thread system | Upper and bobbin thread | Needle threads plus loopers |
| Fabric trimming | Small attachment blade | Dedicated adjustable knife |
| Stretch control | No differential feed | Differential feed on most models |
| Speed | Domestic-machine pace | Designed for fast edge finishing |
| Setup cost | Lower when compatible | Higher dedicated-machine cost |
| Best use | Occasional simple edges | Regular construction and finishing |
Reasons The Cut Edge Looks Rough
- Trying to remove too much fabric in one pass.
- Using the attachment on bulky seams, pins, or very heavy material.
- Selecting a stitch wider than the opening safely permits.
- Letting the fabric drift away from the cutting guide.
- Continuing with a dull or lint-packed blade mechanism.
If appearance remains inconsistent on a stable sample after correct installation, use a non-cutting overcasting foot or trim first with scissors. One-step convenience is not worthwhile when it reduces control or damages the edge. If you want a broader comparison before buying, review Serger versus sewing machine guide and compare its guidance with the setup discussed in this article.
Use It As One Option In A Finishing Toolkit
Decide the finish during project planning. Mark the final seam allowance, identify bulky intersections, and test whether the attachment’s cut position preserves the required width. Sew critical construction seams first when the pattern requires them, then finish accessible raw edges in a separate pass. For a more specific setup check, use Side cutter attachment to compare compatibility details, fabric behavior, or attachment limits before you order.
Keep a labelled sample showing the successful stitch, width, length, needle, and fabric. Clean the attachment after use and store it so the blade is protected. For repeated knit garments or high-volume work, track the extra setup and handling time; that evidence may justify a dedicated overlock machine. When you need a product example or a supporting tutorial, Presser foot guide gives you another reference point that fits naturally with this topic.
Use A Side Cutter Presser Foot For Simple, Controlled Edges
A side cutter presser foot can combine light trimming and domestic overcasting on straightforward projects, making it a useful accessory for occasional finishing. It cannot reproduce a serger’s stitch formation, feeding control, speed, or fabric range. Choose it for convenience within its limits and use a true overlock machine when flexible, repeated, or production-quality seams are the goal. A side cutter presser foot can be useful for basic trimming and overcasting, but it should not be judged as a full serger replacement. For manufacturer-level technical detail, also review Singer’s side-cutter instructions before changing settings, buying accessories, or troubleshooting a difficult seam.
Frequently Asked Questions
Does a side cutter foot make a true overlock stitch?
No. It uses the sewing machine’s upper and bobbin thread with an overedge-style stitch. A serger forms stitches with loopers and multiple threads.
Can I use a side cutter on stretch fabric?
Some stable knits may work in testing, but the attachment has no differential feed and can create wavy edges. Highly elastic garment seams are usually better suited to a serger or approved stretch method.
Will a side cutter fit every low-shank machine?
No. The operating fork, shank, stitch width, needle position, and model geometry must all be compatible. Use an exact compatibility list whenever possible.
Can it cut through thick denim seams?
It is generally intended for narrow trimming on light to medium fabrics, not dense crossed denim seams. Heavy material can damage or jam the mechanism.
Why does the needle hit the attachment?
The foot may be installed incorrectly, the selected stitch may be too wide, or the needle position may be unsafe. Stop, remove power, and repeat the manufacturer’s clearance procedure.
