

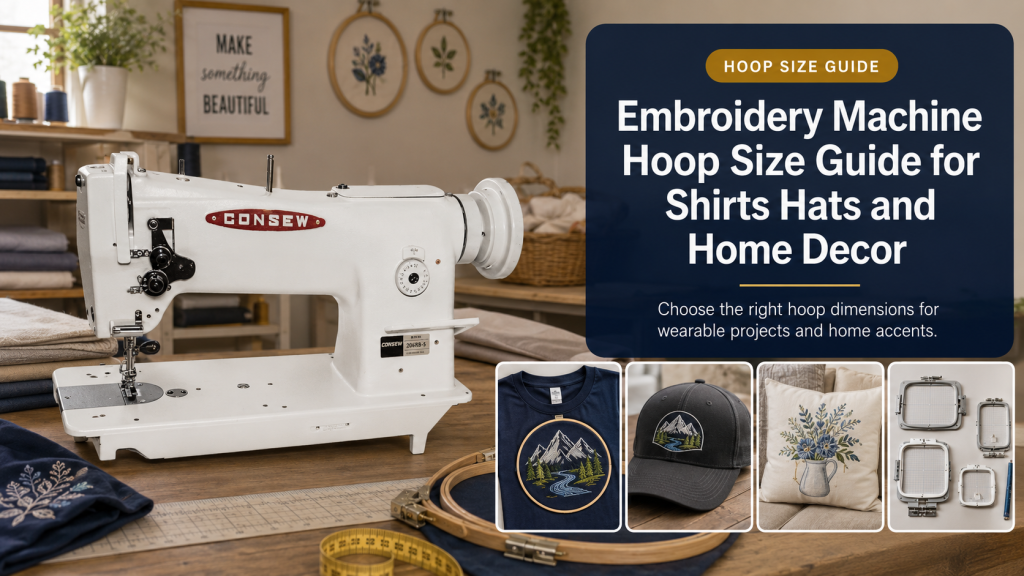
An embroidery machine hoop size guide must distinguish between the hoop’s physical outside dimensions and the machine’s maximum stitchable field. A frame can look large while providing a smaller usable area, and buying a larger accessory does not expand the travel limits of a small-field machine. The right size depends on the finished design, placement location, garment access, stabilizer, and whether the project can be rehooped accurately.
Use An Embroidery Machine Hoop Size Guide Correctly
Manufacturers may describe a hoop as 4 by 4, 5 by 7, 6 by 10, or another familiar size, but the manual provides the exact stitchable dimensions. Designs must fit within that field after rotation and editing. A machine cannot stitch beyond its carriage travel simply because a larger third-party frame can be attached. For this decision, 4×4 embroidery area is useful context: This entry field suits small motifs and monograms, but the actual metric dimensions and design limits should be checked in the manual.
Placement also consumes usable space. A left-chest logo must fit between seams and buttons, a towel monogram may need clearance from a thick border, and a pillow panel must be hooped without distorting the fabric. Measure the location on the actual item before choosing the design or machine. For this decision, large embroidery hoop is useful context: A larger frame improves single-hooping capacity only when it is recognized within the machine’s maximum embroidery field.
Hoop Choices For Common Project Types
Left-Chest And Small Shirt Designs
A small or medium field handles many monograms and logos while making placement easier on narrow garment areas. Use a template to align the center, keep button plackets and seams out of the frame, and verify that the shirt back cannot become trapped under the hoop. For this decision, hat embroidery machine is useful context: Finished structured caps need suitable free-arm access, cap driver, frame, and digitizing that accounts for the curved sewing direction.
Large Shirt Fronts And Jacket Backs
Bigger graphics need a genuinely larger stitch field or carefully planned multi-position embroidery. Consider stitch count, stabilization, and garment weight as well as width and height. Rehooping errors become more visible when separate sections must align. For this decision, shirt embroidery setup is useful context: Plan placement, stabilizer, hooping direction, garment containment, needle, and thread before loading the design.
Caps And Curved Items
Flat-bed single-needle machines may embroider unstructured cap panels before assembly, but finished structured caps usually need a compatible cap frame and a machine with suitable access and rotation. The cap system, not a nominal hoop size, determines practical capacity. For this decision, design placement is useful context: Templates, center marks, trial tracing, and consistent garment reference points prevent an otherwise good design from sitting too high or off center.
Towels, Pillows, And Home Décor
These projects may fit large hoops easily, but thick texture and bulky finished items complicate clamping. Magnetic or specialty frames can improve access when approved for the machine. Protect the machine from heavy items pulling on the carriage.
Multi-Position And Specialty Frames
A repositionable frame can extend layout options without increasing the machine’s single stitching field. The design must be split and aligned correctly in software. Continuous-border, sock, clamp, and magnetic frames each solve specific access problems. For this decision, multi needle embroidery is useful context: Multiple needles reduce color-change handling and often provide free-arm access, but hoop and cap capabilities still vary by model.
Plan The Hoop Before Buying Or Digitizing
- Measure the maximum available width and height on the actual garment or décor item.
- Choose the desired finished design size and leave safe clearance from seams, buttons, zippers, and thick borders.
- Compare the design dimensions with the machine’s stated stitchable field in millimeters.
- Confirm a compatible hoop can physically access and hold the item without trapping another garment layer.
- Select stabilizer and topping appropriate to fabric stretch, texture, and stitch density.
- Print or display a full-size template and test placement on the item before hooping.
- Run a boundary trace or trial stitch on comparable fabric before embroidering the final piece.
For business work, create placement templates for recurring garment styles and sizes. Repeatable reference points save more time and prevent more waste than choosing the largest available frame for every job. For this decision, hoop compatibility is useful context: Use the exact machine accessory chart because frame recognition, mounting brackets, magnets, and software limits are model specific.
Typical Hoop Needs By Project
| Project | Practical field need | Access concern |
|---|---|---|
| Left-chest monogram | Small to medium | Avoid placket, armhole, and back layer |
| Full shirt front | Medium to large | Garment bulk and alignment |
| Jacket back | Large field | Weight support and multi-section accuracy |
| Finished structured cap | Dedicated cap system | Curved frame and free-arm access |
| Towel border | Small to medium | Thickness, nap, and stabilizer |
| Pillow panel | Medium to large | Hoop before final assembly when possible |
Hoop-Size Assumptions That Cause Failed Projects
- Treating the hoop’s outside measurement as the stitchable area.
- Buying an oversized accessory that the machine cannot recognize.
- Selecting a design before measuring the available garment location.
- Trying to hoop both the shirt front and back together.
- Assuming a flat frame can embroider every finished cap shape.
When a design barely fits the field, allow additional safety space rather than scaling to the absolute limit. Registration, fabric movement, and digitizing underlay can make edge placement less forgiving. If you want a broader comparison before buying, review Embroidery machine buying guide and compare its guidance with the setup discussed in this article.
Build A Placement-First Embroidery Workflow
Start with the item laid flat and mark a stable horizontal and vertical reference. Print a full-size design template, align its center and orientation, and verify appearance on the body or finished décor context. Choose the smallest compatible hoop that comfortably contains the design because smaller frames often hold fabric more securely. For a more specific setup check, use Brother PE900 embroidery machine to compare compatibility details, fabric behavior, or attachment limits before you order.
Hoop stabilizer and fabric without stretching, keep excess garment material clipped away from the carriage, and attach the frame without forcing it. Use the machine’s outline trace when available. After stitching, remove stabilizer according to its type and document the design size, frame, and placement measurements for repeat orders. When you need a product example or a supporting tutorial, Multi-needle embroidery machine gives you another reference point that fits naturally with this topic.
Use This Embroidery Machine Hoop Size Guide Before Buying Or Digitizing
An embroidery machine hoop size guide is useful only when it connects the design’s true dimensions with the machine’s stitchable field and the item’s physical access. Measure the placement, confirm exact compatibility, and choose a frame that secures the fabric without exceeding the machine’s travel limits. An embroidery machine hoop size guide is most useful when you compare the stitchable field with real garment access and design placement. For manufacturer-level technical detail, also review Brother’s PE900 specifications and accessory information before changing settings, buying accessories, or troubleshooting a difficult seam.
Frequently Asked Questions
Can I use a 5×7 hoop on a 4×4 machine?
A larger frame does not expand a 4×4 machine’s maximum stitch field. Some multi-position frames may support split designs, but only when the exact machine and software workflow allow them.
What hoop size is best for shirt logos?
Many left-chest logos fit in small or medium fields, but measure the intended logo and garment location. The smallest frame that comfortably fits the design often provides the most stable hooping.
Can a single-needle machine embroider hats?
It may embroider flat or unstructured cap panels and some compatible items, but finished structured caps generally require a supported cap frame and suitable machine access.
Is hoop size the same as embroidery area?
Not necessarily. Hoop size may describe the physical frame, while embroidery area is the maximum region the needle can stitch within that frame.
Can I split a large design across several hoopings?
Yes, with suitable software, registration marks, a compatible frame, and careful alignment. The process is less forgiving than stitching the design within one field.
