

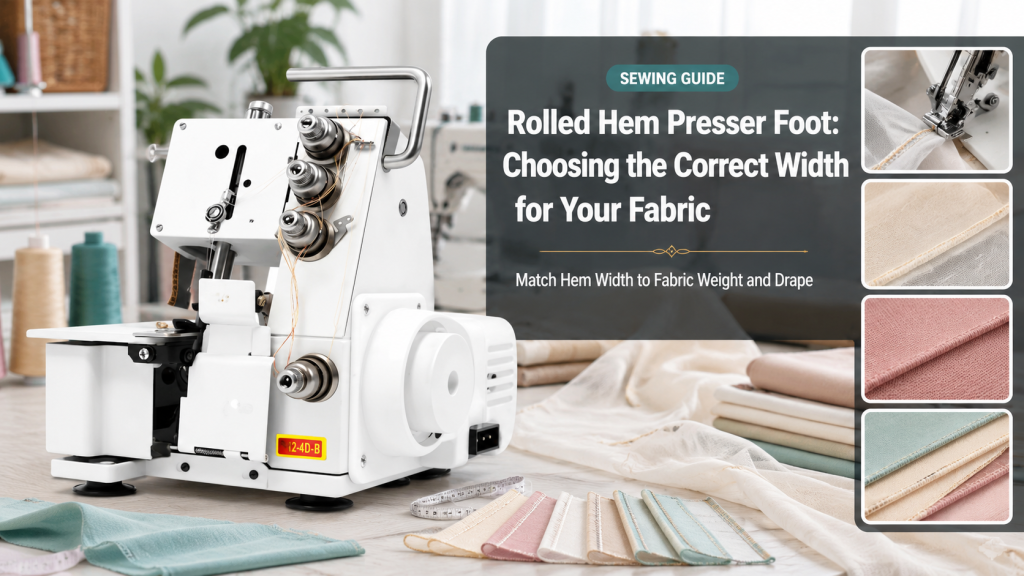
A rolled hem presser foot forms a narrow double-fold by guiding the raw edge through a small scroll before it reaches the needle. The correct width depends on fabric weight, weave stability, curve, seam intersections, and the visual scale of the project. A tiny scroll can make a delicate scarf edge look refined but may jam on a side seam; a wider foot is easier on medium cotton but can look bulky on sheer chiffon. Successful hemming begins with matching the scroll to the material and learning a controlled start.
Select A Rolled Hem Presser Foot By Fabric Behavior
Width labels are not perfectly standardized. Some describe the finished hem, while others refer to the channel or fabric entering the scroll. Inspect the seller’s diagram and make a sample. The fabric must fold twice inside the guide without bunching, escaping, or exposing the raw edge. For this decision, narrow hem foot is useful context: This is another common name for a scroll foot that turns a small double fold before stitching.
Edge stability matters as much as thickness. Crisp cotton enters a scroll predictably, while slippery chiffon may twist or fall away. Bias edges stretch, curved edges change the amount entering the foot, and bulky seam allowances can overfill the channel. One project may require the foot for long open sections and manual hemming at difficult areas. For this decision, hemmer foot sizes is useful context: Sets may include several widths; confirm whether the listing describes finished size and whether each foot fits the machine.
How Width Changes The Finished Hem
Very Narrow 2–3 Mm Finishes
These suit scarves, ruffles, lingerie details, and sheer or lightweight woven fabrics when the edge is stable enough to feed. They demand accurate trimming and a clean start. Thread and needle should be fine enough not to dominate the hem. For this decision, lightweight fabric hemming is useful context: Use a fine needle, balanced thread, cleanly trimmed edge, gentle handling, and a sample that includes the real grain direction.
Medium 4–6 Mm Finishes
A wider scroll gives more control on light to medium cotton, napkins, linings, and simple garment edges. It tolerates slightly more body but still struggles at thick crossed seams. The visible finish is more substantial and may be easier for beginners. For this decision, curved hem sewing is useful context: Wide gentle curves can work, while tight curves often need manual pressing, bias binding, facing, or another finish.
Straight Grain Versus Bias
Straight grain normally enters consistently. Bias edges can stretch and narrow as they feed, so reduce handling pressure and support the fabric. Staystitching or a stabilizing technique may help, but test because extra stitching can add bulk. For this decision, presser foot width guide is useful context: Compare the scroll opening, claimed finished width, fabric weight, compatibility, and the scale of the completed project.
Curves And Corners
Gentle outward curves may work with steady feeding and small adjustments. Tight inside curves are difficult because the outer and inner edge lengths differ. Corners usually require stopping, folding manually, or using a different hemming sequence.
Seams And Bulky Intersections
Grade seam allowances, press them in opposite directions when appropriate, and consider beginning after the bulky point. Forcing a thick seam into the scroll can twist the hem, break the needle, or pull the fabric out of the guide. For this decision, chiffon hemming is useful context: Sheer slippery fabric needs a fine setup and careful starting; stabilizer or a manual narrow hem may be easier on difficult curves.
Test Each Foot Width On The Actual Fabric
- Cut edges cleanly on straight grain, bias, and one project-shaped curve.
- Prepare a thread chain or manually fold the first inch twice so it can enter the scroll.
- Sew slowly while holding the fabric edge high enough to feed the guide without overfilling it.
- Check whether the raw edge stays enclosed and whether the hem lies flat after pressing.
- Cross one representative seam after grading its allowances.
- Repeat with the next wider or narrower foot and compare control, appearance, and consistency.
Save the best sample with the exact foot width, needle, thread, stitch length, and starting method. The correct choice is the one you can reproduce across the whole project, not the narrowest hem achieved once. For this decision, clean edge finish is useful context: A successful hem encloses the raw edge evenly, remains flat, and uses stitches proportionate to the narrow fold.
Starting Width By Fabric And Project
| Fabric or project | Width to test first | Main risk |
|---|---|---|
| Chiffon scarf | 2–3 mm | Slipping out of the scroll |
| Light cotton blouse | 3–4 mm | Bulk at side seams |
| Napkin or lining | 4–6 mm | Uneven corners |
| Circle skirt | Test medium width or alternate method | Bias stretching and changing curve |
| Ruffle edge | 2–4 mm | Gathering or twisting |
| Medium home décor cotton | Wider hem or pressed method | Scroll overfilling |
Why Fabric Escapes The Scroll
- Feeding too little fabric into the guide so the raw edge is not enclosed.
- Feeding too much fabric and overfilling the scroll.
- Beginning directly on a bulky seam intersection.
- Pulling from behind instead of letting the feed dogs move the hem.
- Choosing a very narrow foot for fabric with too much body.
When the edge refuses to feed consistently after reasonable practice, change width or method. A pressed double fold, bias binding, facing, or serged rolled edge may suit the shape and fabric better. If you want a broader comparison before buying, review Rolled hem foot set and compare its guidance with the setup discussed in this article.
Create A Reliable Start And Finish
Trim loose threads, square the starting edge, and form the first double fold manually for about an inch. Stitch a few securing stitches with the fabric flat, lift the foot with the needle down, and guide the folded edge into the scroll. Some users begin with a thread chain or small stabilizer leader to make handling easier. For a more specific setup check, use Wide hemmer foot set to compare compatibility details, fabric behavior, or attachment limits before you order.
During sewing, guide the fabric in a gentle curve toward the scroll so the same amount enters continuously. Watch the fold rather than the needle. At the end, secure threads without building a bulky backstitch on sheer fabric, press with appropriate heat, and inspect both the enclosed edge and the overall drape. When you need a product example or a supporting tutorial, Presser foot guide gives you another reference point that fits naturally with this topic.
Choose A Rolled Hem Presser Foot Width The Fabric Can Feed Consistently
A rolled hem presser foot works best when the scroll width matches fabric body, edge stability, curve, and seam bulk. Test several widths on the actual project fabric, master the start, and use an alternate finish where the shape exceeds the attachment’s strengths. Consistency across the entire edge matters more than achieving the smallest possible fold. A rolled hem presser foot should form the edge smoothly on the actual fabric without forcing bulk through a scroll that is too narrow. For manufacturer-level technical detail, also review PFAFF’s 2 mm rolled-hem foot information before changing settings, buying accessories, or troubleshooting a difficult seam.
Frequently Asked Questions
What rolled hem foot size should I use for chiffon?
A 2–3 mm finish is a common starting point, but test the exact chiffon. Slippery or loosely woven fabric may require stabilizing, a different start, or another hemming method.
Can a rolled hem foot sew curves?
It can follow gentle curves with careful feeding. Tight inside curves and changing bias edges are difficult and may need a manually pressed hem, facing, or binding.
Why is the raw edge showing inside the hem?
Too little fabric may be entering the scroll, the edge may be cut unevenly, or the chosen foot may be too wide for the feed angle. Adjust the amount guided into the scroll and test again.
Can I sew over side seams with a narrow hem foot?
Sometimes after grading and pressing the allowances, but bulky intersections often overfill the scroll. Start after the seam or hem that section manually when necessary.
Are rolled hem feet universal?
No. Verify shank or snap-on compatibility, adapter needs, needle opening, and machine model. Perform a handwheel clearance check before sewing.
