

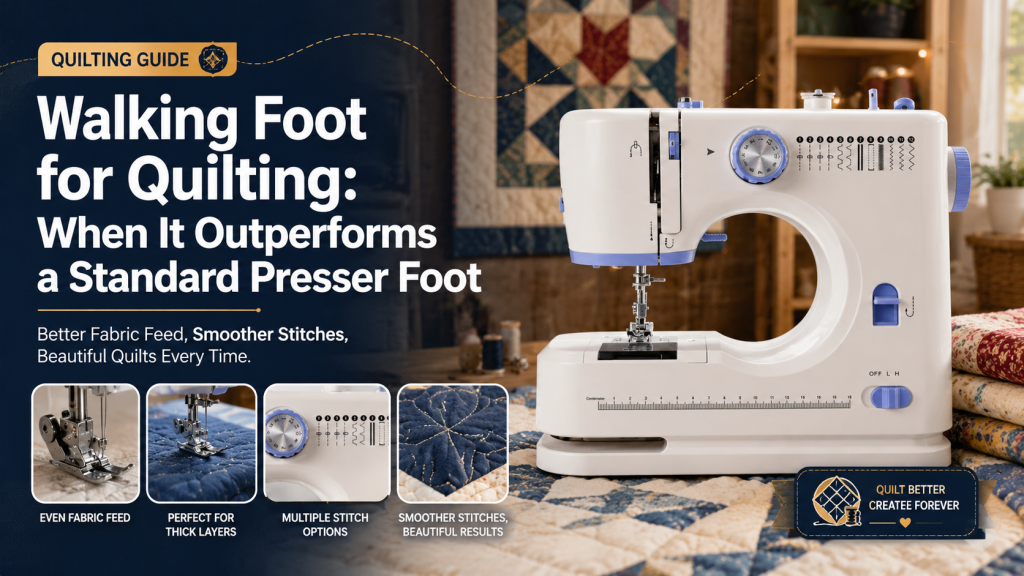
A walking foot for quilting is most valuable when the quilt top, batting, and backing want to move at different rates. A standard foot presses on the upper layer while the feed dogs move from below; on a bulky sandwich, that difference can create ripples, dragged borders, and mismatched intersections. This guide shows when the added upper feeding action produces a visible improvement and when a normal foot is still the simpler choice.
When A Walking Foot For Quilting Earns Its Place
The attachment does not pull fabric independently like an industrial compound-feed system. Instead, its fork rides on the needle-clamp mechanism and moves the upper contact surface in rhythm with the feed dogs. That coordinated movement reduces the tendency of the top layer to creep ahead of the batting and backing. For this decision, even feed foot is useful context: This is a common alternate name for a walking attachment; confirm the shank style and fork position match the machine.
Its advantage grows as the project becomes larger, softer, or more difficult to control. A small, firmly basted placemat may sew well with a standard foot, while a bed quilt with lofty batting can show obvious drag after only a few rows. Evaluate the project, basting method, stitch direction, and machine compatibility together. For this decision, quilt layer feeding is useful context: The goal is coordinated movement through the needle area, not pulling the quilt faster or replacing proper basting.
Where Upper Feeding Improves Quilting Results
Long Parallel Rows
Repeated lines magnify even a small amount of creep. The attachment helps each layer enter the needle area at a similar rate, so the end of a row is less likely to develop a pushed wave. Mark guides clearly and support the quilt weight so it cannot pull from the table edge. For this decision, straight line quilting is useful context: Rows, grids, channels, and gentle waves are the techniques most likely to benefit from the long, stable sole.
Borders And Binding
A walking mechanism can reduce ripples while attaching binding through several layers. It is especially helpful when the border is cut on the bias or the quilt edge includes bulky seams. Accurate preparation remains essential because the foot cannot correct a stretched binding strip. For this decision, presser foot comparison is useful context: Compare visibility, turning radius, supported stitch width, feeding action, and compatibility instead of assuming one foot is best for every seam.
Bulky Seam Intersections
Where blocks meet, the foot can climb more steadily and maintain contact with the upper surface. Slow down before the ridge, keep the quilt level, and avoid steering sharply while the needle is buried in dense seam allowances. For this decision, fabric shifting prevention is useful context: Open-toe versions improve visibility while retaining coordinated movement, which can help when following marked lines.
Slippery Or Textured Fabric
Minky, laminated materials, and loosely woven layers can shift under ordinary pressure. Upper movement adds control, but test first because deep texture may require reduced pressure or a different basting method to prevent distortion.
Gentle Curves Versus Tight Turns
Most walking attachments follow wide curves well when the operator takes small directional adjustments. They are not ideal for tiny motifs or frequent pivots because the long sole restricts turning. Free-motion or specialty feet are better for intricate paths. For this decision, quilting accessories is useful context: Guides, extension tables, suitable needles, gloves, and basting supplies often improve control as much as the attachment itself.
Run A Fair Side-By-Side Feeding Test
- Make two identical layered samples using the same top fabric, batting, backing, and basting method.
- Mark four parallel lines and one wide curve on each sample.
- Sew the first sample with the normal foot at a moderate, consistent speed.
- Install the attachment exactly as the manual shows, making sure its fork sits correctly on the needle-clamp screw.
- Sew the second sample with the same stitch length and thread, supporting the sample rather than pushing it.
- Compare edge alignment, rippling between rows, stitch length at intersections, and the amount of steering correction required.
A meaningful test controls everything except the foot. If the second sample improves only because it was basted more closely or sewn more slowly, repeat the test before attributing the result to the attachment. For this decision, Singer walking foot is useful context: Brand-specific listings show the intended machines and installation details; verify the model number before ordering.
Walking Foot Or Standard Foot?
| Situation | Better starting choice | Reason |
|---|---|---|
| Quilt sandwich with long rows | Walking attachment | Reduces differential movement between layers |
| Piecing two cotton layers | Standard quarter-inch foot | Better seam guide and visibility |
| Attaching multilayer binding | Walking attachment | Maintains steadier contact over the edge |
| Tight decorative curves | Standard or specialty foot | Turns more freely around small shapes |
| Single-layer garment seam | Standard foot | No extra mechanism is normally needed |
Common Causes Of Disappointing Results
- Installing the fork below rather than above the needle-clamp screw.
- Using a zigzag or decorative stitch wider than the foot opening allows.
- Letting the quilt hang from the table and pull against the feed.
- Skipping basting because the attachment is expected to control the entire quilt.
- Trying to make tight pivots with the long sole planted on the fabric.
If the attachment makes a knocking sound, walks unevenly, or touches the needle, stop immediately. Recheck compatibility, installation, needle position, and maximum stitch width before sewing again. If you want a broader comparison before buying, review Walking foot guide and compare its guidance with the setup discussed in this article.
Build A Smoother Straight-Line Quilting Workflow
Start in the center of the quilt and work outward in a balanced sequence. Roll or fold only enough material to fit the throat space, and keep the remaining weight supported beside and behind the machine. A large flat surface reduces drag and makes it easier to follow a marked line without pulling the layers off grain. For a more specific setup check, use Presser foot guide to compare compatibility details, fabric behavior, or attachment limits before you order.
Use a slightly longer test stitch when batting loft makes tiny stitches look buried, but judge strength and appearance on the actual sandwich. Pause with the needle down for broad direction changes, smooth the next section without stretching it, and check the underside periodically so a tension problem does not continue across the whole quilt. When you need a product example or a supporting tutorial, Universal walking attachment gives you another reference point that fits naturally with this topic.
Choose A Walking Foot For Quilting For The Right Movement Problem
A walking foot for quilting outperforms a standard foot when several layers are creeping, stretching, or building a wave in front of the sole. It is not a universal replacement. Use it for controlled layered feeding, support the quilt properly, and return to a more specialized foot when visibility, tight turning, or a precise piecing guide matters more. A walking foot for quilting should improve layer control on your actual quilt sandwich, not only on a showroom sample. For manufacturer-level technical detail, also review the official Singer attachment page before changing settings, buying accessories, or troubleshooting a difficult seam.
Frequently Asked Questions
Do I need a walking foot to quilt straight lines?
No, a well-basted small quilt may sew cleanly with a standard foot. The attachment becomes more helpful as the sandwich grows, the batting becomes loftier, or the layers begin to creep.
Can a walking foot sew curves?
It can follow broad curves with small, gradual steering adjustments. Tight motifs and frequent pivots are better suited to free-motion or other specialty techniques.
Can I use decorative stitches with a walking foot?
Only when the attachment and machine manual allow the required stitch width and sideways needle movement. Many models are intended mainly for straight stitches and limited-width zigzag.
Why is my walking foot making a clicking noise?
The fork may be installed incorrectly, a screw may be loose, or the needle may be contacting the foot. Stop sewing and inspect the installation before continuing.
Does a walking foot replace basting?
No. Basting holds the quilt sandwich in position across the project, while the foot improves movement only as the layers pass through the needle area.
