Mastering the Art of Precision: A Comprehensive Guide to Walking Sewing Foot
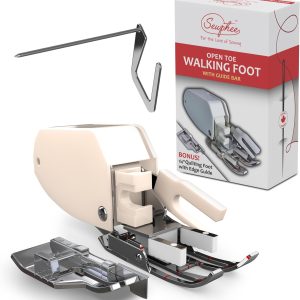
Using a walking sewing foot can be your game-changer if you are looking for precision and perfection. This often overlooked accessory can transform how you sew by ensuring multiple layers of fabric feed evenly through your machine. Having the right tools can make all the difference, whether you are working with slippery fabrics or heavy materials.
This comprehensive guide will explore various types of walking sewing Foot and their benefits. We’ll also walk you through installation steps and tips for achieving flawless results every time. Plus, if things don’t go as planned, we have troubleshooting advice ready. Get comfortable; it’s time to step into a world where precision is key!
Types of Walking Sewing Foot
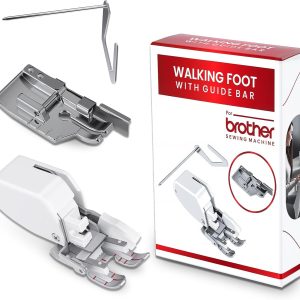
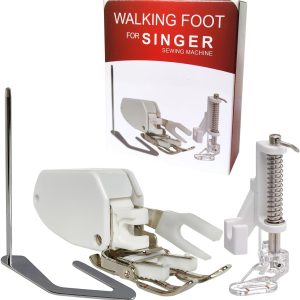
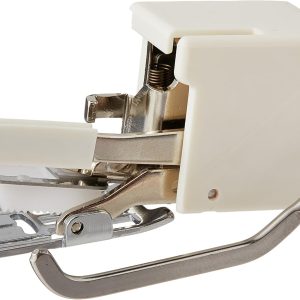
Walking sewing Footcome in various types, each designed for specific tasks. The standard walking Foot is a must-have for general sewing projects. Its built-in feed mechanism grips the top layer of fabric, ensuring even feeding with the feed dogs.
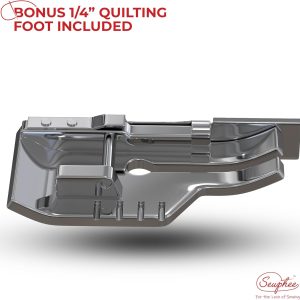
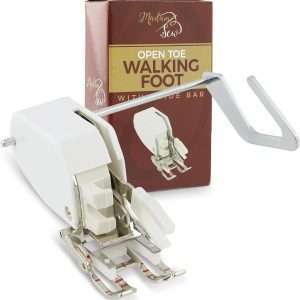
Another popular option is the quilting walking Foot. This version features an extended guide and often includes markings to help you keep your lines straight while working on quilts or layered fabrics.
The solution is the dual-feed walking Foot, which is specialized for those tackling tricky materials like knits or delicate silks. This attachment provides extra support to prevent slipping.
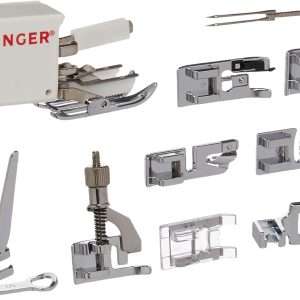
Specialty Footexist for unique applications such as embroidery or stitching in the ditch. These options give you greater control and precision over intricate designs and patterns. Each type serves its purpose; choosing wisely can elevate your sewing experience significantly.
Benefits of Using Walking Sewing Foot
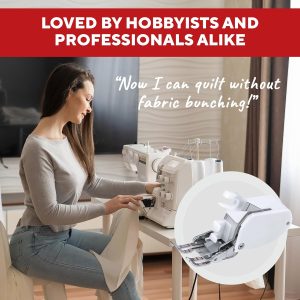
Walking sewing Footoffer a distinct advantage for quilters and sewists alike. They ensure that multiple layers of fabric move together smoothly, preventing slipping or shifting. This is particularly crucial when working with heavy materials like denim or layered quilts.
Another benefit is the even feed they provide throughout the stitching process. Maintaining consistent tension across all layers produces cleaner seams and a more professional finish.
Using a walking Foot also reduces puckering, which can be frustrating when striving for precision in your projects. Whether piecing quilt blocks or sewing long strips, this tool helps maintain uniformity.
Additionally, walking Footare versatile; they work well on various fabric types, including knits and wovens. This adaptability makes them an essential tool in any sewer’s arsenal, fostering creativity without compromising the quality of your work.
How to Install and Use Walking Sewing Foot
To install a walking sewing Foot, first turn off your machine. Remove the presser Foot attached by lifting the lever at the back of your machine.
Next, align the walking Foot with the needle bar. Slide it into place and secure it firmly. Be sure to adjust any settings as needed for your specific model.
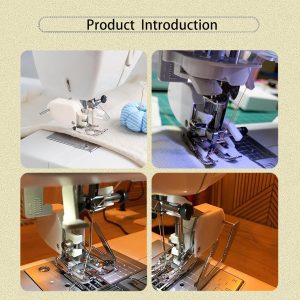
Once installed, thread your fabric beneath both layers of feed dogs and ensure it’s positioned correctly. Lower the presser Foot to engage it with a cloth.
When you start sewing, maintain a steady pace. The walking Foot will help move multiple layers evenly without shifting or puckering.
Feel free to experiment with different fabrics and thicknesses to understand how this tool enhances precision in each project!
Tips for Perfecting Precision with Walking Sewing Foot
To achieve precision with your walking sewing Foot, select the suitable fabric. Heavier materials benefit from a walking Foot’s grip, while lightweight fabrics may require more care to avoid slipping.
Constantly adjust your tension settings based on the thickness of your layers. A balanced tension will help maintain consistent stitches throughout.
Practice straight stitching before embarking on complex projects. This builds confidence and allows you to fine-tune your technique.
Utilize guide markings on the Foot for accurate seam allowances. These visual cues keep you aligned as you sew and can significantly enhance accuracy.
Please don’t rush through seams; take it slow and steady. Speed can lead to uneven stitching, which is counterproductive when aiming for precision.
Regularly clean and maintain your walking Foot. A well-maintained tool performs better, ensuring perfect stitching every time.
Troubleshooting Common Issues
Using a walking sewing Foot can significantly enhance your sewing projects, but sometimes, things go differently than planned. Here are some common issues you might encounter and how to resolve them.
One frequent problem is uneven fabric feeding. This can lead to puckering or stretching, which ruins the finished look. Ensure that your walking Foot is properly attached and that the feed dogs are engaged. Check if the presser Foot pressure needs adjusting for different fabrics.
Another issue could be skipped stitches. This often occurs when using thick layers of fabric or batting without proper needle adjustments. Ensure you’re using the correct needle size for your project, and consider switching to a more muscular needle type if necessary.
If you’re experiencing excessive noise from your machine while using a walking Foot, it might not be seated correctly on the shank of your sewing machine. Double-check its alignment and reattach it firmly before resuming work.
Remember that not all materials play nicely with every type of walking Foot; some may require specialty Footdesigned for specific fabrics like knits or leather. Experimenting with various types will help you understand what works best in each situation.
Addressing these common challenges effectively allows you to enjoy seamless stitching experiences while quickly mastering precision in your projects.

Sewing Machine Presser Feet
Janome Even Feed Foot with Quilting Guide for Horizontal Rotary Hook Models