
Sergers & Overlock Machines

Mastering the Art of Singer Heavy Duty Serger Threading: A Step-by-Step Guide Are you ready to unlock the full potential of your...
Are you ready to unlock the full potential of your Singer Heavy Duty Serger? Threading this powerful machine might seem daunting at first, but fear not! Mastering singer heavy-duty serger threading can become second nature with some guidance and practice. Whether you’re a seasoned seamstress or just starting, knowing how to thread your serger efficiently is critical to achieving those professional-looking finishes. In this guide, we’ll break down everything from understanding the parts of your serger to troubleshooting common issues. Let’s dive in and make threading as easy as pie!
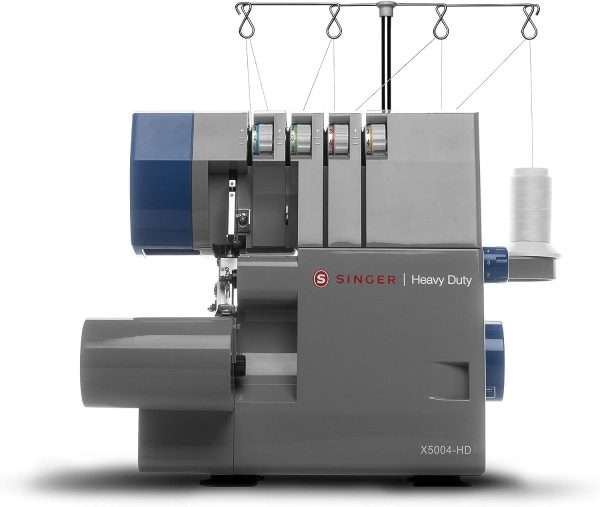
To master singer heavy-duty serger threading, it’s crucial to know the various parts of your machine. At the heart of it all is the needle. Most sergers use two or more needles for simultaneous stitching.
Next up is the looper system. This includes both upper and lower loopers, which create beautiful overlock stitches by interlocking threads from each needle. Understanding how these components work together will make threading easier.
The tension discs manage thread tension, ensuring consistent stitch quality. Each type of thread you use may require different settings, so getting familiar with this part can save you headaches later on.
Pay attention to the feed dogs. These little guys move your fabric through the machine smoothly while sewing, ensuring everything stays aligned as you work your magic. Knowing these parts inside and out sets a solid foundation for efficient serging!
Preparing your machine correctly before diving into Singer heavy-duty serger threading is essential. Start by ensuring it’s on a stable surface. A solid foundation prevents vibrations that could misalign thread paths.
Next, unplug the machine for safety. This step is crucial to avoid accidental starts while you’re working.
Clean your serger thoroughly. Dust and lint can interfere with threading efficiency and cause later frustrating snags. Use a small brush or compressed air to remove debris from the feed dogs and tension discs.
Check the needle condition as well. Replace dull or bent needles before threading to achieve smooth stitching results.
Gather all necessary materials: threads in your chosen colors, scissors, and tweezers for easy handling of delicate threads during the process. With everything in place, you’re ready to tackle the art of threading!
Threading the Singer Heavy Duty Serger may seem daunting, but breaking it down into simple steps helps. Start by ensuring your machine is turned off and unplugged for safety.
First, raise the presser foot. This releases tension on the threads and makes threading easier. Next, place spools of thread onto their respective pins.
Follow the color-coded paths in your manual. Each thread has a dedicated route through various guides and tensions. Pull each thread through its designated loop, making sure to pass it through all necessary components.
Remember to engage any levers or switches as indicated in your guide; this can change how the threads are fed. After threading all four spools—two needles and two looper threads—it’s time to test your setup with some fabric scraps before diving into your project!
Preparation is key to efficient Singer Heavy Duty serger threading. Always keep your workspace organized. Lay out your threads in the order you’ll use them, which will help streamline the process.
If possible, use a thread stand. It keeps your spools upright and allows for smoother feeding into the machine. Also, check that you use high-quality thread to avoid tangles and breaks.
Take your time with the steps, ensuring each loop goes through its designated guide correctly. A little patience can save you from future frustrations.
Consider watching video tutorials or joining online forums focused on serging. Engaging with others who share tips can significantly enhance your skills.
Practice makes perfect! The more you thread, the quicker and more efficient you’ll become at mastering this essential skill.