


Detail Description
Mastering the Quilting Foot: Your Ultimate Guide to Perfect Stitches
Ready to up your quilting game? Whether you’re a beginner or seasoned pro, there’s always room for improvement when it comes to creating precise and stunning stitches. The key to achieving this lies in the trusty quilting foot, also known as the walking or even-feed foot. Despite its often overlooked status, this small but mighty attachment can be a game-changer in your quilting projects. In this guide, we’ll cover everything you need to know about mastering the quilting foot and how it can take your stitches from good to perfect every time. Crafting beautiful quilts is an art that requires the right tools, and the quilting foot is one of them. This seemingly simple accessory holds immense potential for achieving flawless stitches and intricate designs. Whether you’re new to quilting or have years of experience, learning how to master this tool can elevate your projects from ordinary to extraordinary.
From navigating various types of quilting feet to exploring advanced techniques that will have everyone admiring your work, this guide covers everything you need to know. Plus, we’ll delve into proper maintenance so that your quilting foot serves you well for years. Ready to stitch like a pro? Let’s dive in!
Different Types of Quilting Feet
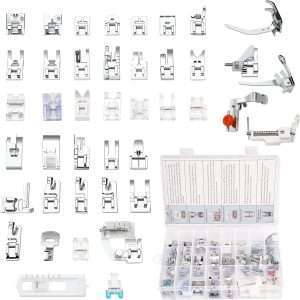
When it comes to quilting feet, variety is the spice of life. Each type offers unique benefits tailored to different techniques and projects.
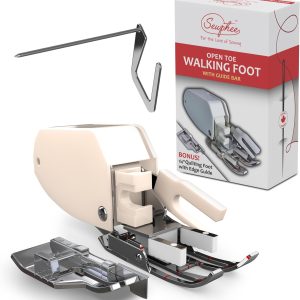
Walking feet are a must-have for any quilter. It feeds multiple layers evenly, preventing the fabric from shifting and ensuring smooth stitching.
Next is the free-motion quilting foot. This one lets you create beautiful designs without restrictions. Your creativity can shine with practice as you move the fabric freely under the needle.
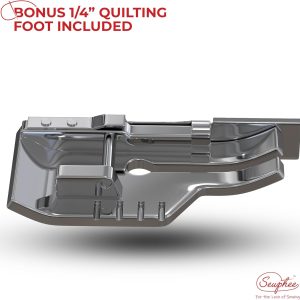
For those who love precision, there’s the quarter-inch foot. Perfect for piecing blocks together, it guarantees accurate seams every time.
Consider using an open-toe quilting foot for visibility while working on intricate patterns. The design lets you see exactly where you’re stitching—ideal for detailed work.
Exploring these options will help enhance your skills and expand your creative possibilities in quilting.
Advanced Techniques with the Quilting Foot
The quilting foot opens up a world of creative possibilities. One advanced technique to explore is free-motion quilting. This allows you to create intricate designs by moving the fabric freely under the needle.
Start with a practice quilt sandwich. Adjust your machine settings for speed and tension, then let your artistic flair guide your movements. The result? Stunning patterns that reflect your unique style.
Another technique is echo quilting. Here, you stitch around shapes or motifs at varying distances, creating depth and texture in your work. It enhances both visual interest and structural integrity.
To expand their skills further, consider using multiple threads or blending colors on the same project. This adds dimension while showcasing different textures across your quilted masterpiece.
Experimentation is vital when mastering these advanced techniques with the quilting foot—your creativity knows no bounds!
Maintenance and Care for Your Quilting Foot
Taking good care of your quilting foot is essential for ensuring it performs at its best and lasts a long time. Regular maintenance will help you avoid issues that can affect your stitches.
Start by keeping the foot clean. After each project, remove any lint or threads that may have accumulated. A small brush can be handy for getting into those tight spaces. If there’s stubborn residue, use a damp cloth to wipe it down gently.
Check the needle frequently during use. Using the correct needle type and size helps prevent foot and fabric damage. Replace dull needles promptly; they can lead to skipped stitches or uneven tension in your quilting.
It’s also essential to store your quilting foot properly when not in use. Please place it in its original packaging or a dedicated storage container that protects it from dust and scratches. This simple step extends its life significantly.
If you notice any wear on your quilting foot, like chips or cracks, consider replacing it sooner rather than later. A damaged quilting foot won’t produce quality results—tackling projects with confidence means having reliable tools at hand.
By following these simple maintenance tips, you’ll ensure smoother stitching experiences while enhancing the longevity of your beloved quilting feet! Happy sewing!