Latest

Mastering the Overlock Machine: Essential Tips and Techniques for Seamstresses If you've ever watched a sewist work magic with fabric, chances are...


If you’ve ever watched a sewist work magic with fabric, chances are they were using an overlock machine. This incredible tool is a game-changer in sewing, allowing for professional-looking finishes and superior durability. Whether new to sewing or looking to enhance your skills, mastering this machine can elevate your projects like never before.
With its ability to cut, sew, and finish edges all at once, the overlock machine opens up a realm of possibilities for creating standout garments. But don’t worry if it seems intimidating; conquering this versatile tool is easier than you think! Let’s dive into essential tips and techniques that will ensure you understand how an overlock machine works and become confident in using one effectively. Your journey toward seamless creativity starts here!
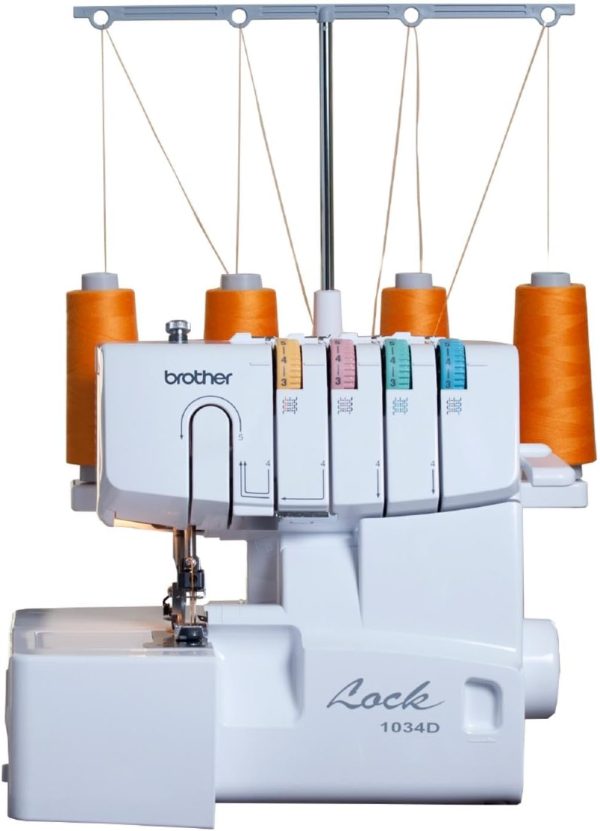
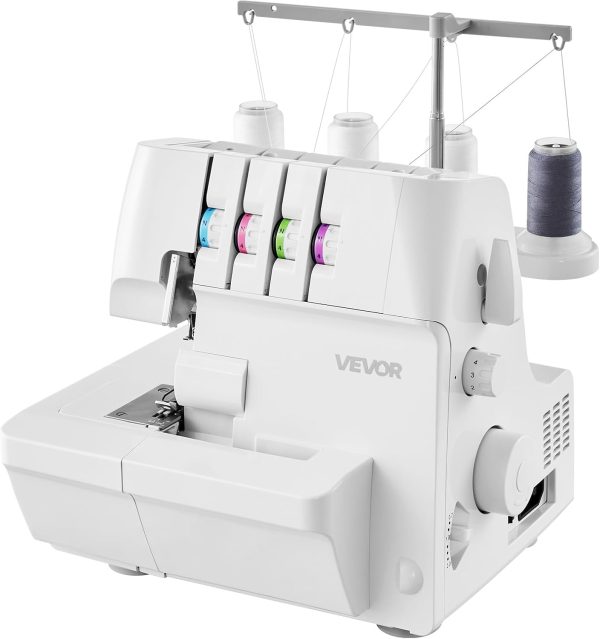
An overlock machine is a powerhouse in any sewing studio. It primarily finishes edges, preventing fraying and giving garments a polished look. Unlike standard sewing machines, it combines cutting and stitching in one motion.
The secret lies in its multiple threads—typically three or four—that create a strong seam. This enhances durability and allows for stretch, making it ideal for knit fabrics.
Another function is the ability to sew decorative edges with ease. You can experiment with various stitch types to add flair to your projects.
Additionally, an overlock machine excels at speed. It stitches through layers of fabric quickly, saving time without compromising quality. Understanding these functions will set you on the right path toward mastering this essential tool in your sewing arsenal.
Preparing your overlock machine properly before you start sewing is crucial. Threading is the first step, and it can seem daunting at first. Follow the color-coded guides on your machine for a smooth experience. Make sure each thread passes through the appropriate tension discs.
Next comes tension adjustment. This part often confuses beginners but is vital for achieving perfect stitches. Use fabric samples similar to what you’ll be working with and test your settings before diving into a project.
If you’re getting uneven stitches or puckering, tweak the tension dials gradually until you find that sweet spot. A little patience goes a long way here!
Remember, every fabric behaves differently under an overlock machine’s foot so that adjustments may vary depending on the materials used. Take notes during this process; they will be valuable references in future projects.
An overlock machine offers a variety of stitches, each serving specific purposes in sewing projects. The most common stitch is the 4-thread overlock stitch, which provides solid seams and prevents fraying on woven fabrics. This is essential for garments that require durability.
Another popular option is the rolled hem stitch. It creates a narrow hem finish, perfect for delicate fabrics like silk or chiffon. This technique adds a professional touch to lightweight clothes and accessories.
The gathering stitch is useful for gathering fabric. It allows you to create ruffles or fullness easily without laborious hand-sewing techniques.
The flatlock stitch is ideal for joining two pieces of fabric with minimal bulk. It’s often used in activewear and swimwear because it lies flat against the skin while providing stretchability.
Understanding these stitches can significantly enhance your sewing experience!
Issues with an overlock machine may halt your sewing progress. One common problem is thread breakage, which often occurs due to improper threading or tension settings. Always check the manual for specific threading instructions.
Another frequent issue is skipped stitches. This might indicate that your needle needs to be fixed or correctly installed. Replacing the needle can significantly improve performance.
If you notice frayed edges, it could be a sign of incorrect stitch length or tension settings that are too tight for the fabric type you’re using. Adjust these parameters and see if they resolve the problem.
If your machine starts making unusual noises, it’s time to inspect for debris or lint buildup around the cutting knife and feed dogs. Regular cleaning should keep everything running smoothly without any interruptions in your project flow.
Mastering advanced techniques with your overlock machine opens up creative possibilities. Rolled hems are particularly useful for lightweight fabrics, giving them a polished finish without bulky seams. Adjust the stitch length to be shorter and let the machine do its magic.
Blind stitching is another excellent technique for providing an invisible hem on garments like skirts or pants. You can achieve professional-looking results that enhance your finished projects with just a few adjustments.
Gathering fabric adds texture and elegance to various sewing pieces. Use the differential feed settings to effortlessly create beautiful gathers. This technique allows for intricate designs while maintaining control over fabric movement.
Experimentation is vital when practicing these advanced techniques. Each project offers an opportunity to refine your skills and discover new ways to express your creativity through sewing!
Keeping your overlock machine in prime condition ensures its longevity and optimal performance. Start by regularly cleaning it. Dust and lint can accumulate, impacting stitches and causing malfunctions. Use a small brush or compressed air to remove debris from the feed dogs, looper area, and tension discs.
Next, oil your machine according to the manufacturer’s instructions. A well-lubricated machine runs smoother and quieter, reducing wear on parts. Check the blades frequently; sharp blades lead to cleaner cuts and better stitching results.
Changing needles is another crucial aspect of maintenance. Dull or damaged needles can create skipped stitches or snag fabric. It’s wise to replace them every few projects or if you notice any issues while sewing.
Proper storage when not in use includes covering the overlock machine with a dust cover designed for sewing machines to keep out dirt and moisture. This simple step can prevent unnecessary wear over time.
Refer to your user manual for specific guidelines for maintaining your model. By following these tips, you’ll enhance the functionality of your overlock machine and enrich your overall sewing experience!